Interested in my process? Read on.
Step 1: Sketches
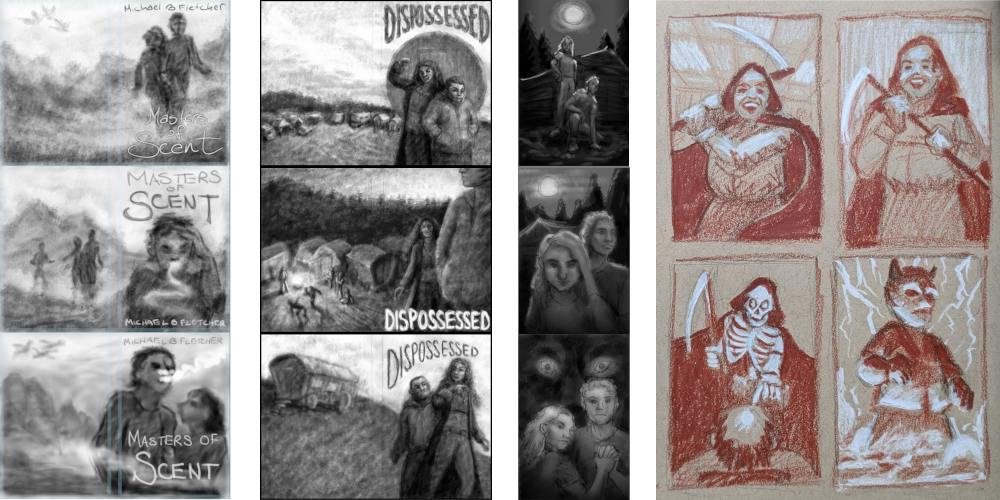
When working with an illustration client, my first step, after discussing all the details and requirements, is to produce three sketches and send them for review.
I do a lot of this stage digitally these days, or a mix of starting with pencil and paper and then moving to digital. How loose or refined these sketches are can depend on client's request, and whether or not they're someone I've worked with before.
There is much about this stage that people don't see, as I'm actually doing far more thumbnail sketches and doodles on my own to get to the three good ones that I send to my client. I want to be able to submit three concepts that are visually different. (Although if I'm doing, say, book 2 or 3 in a series, we may have a visual hierarchy already established that I need to work within.)
When working with a portrait client, my process is fairly similar, but may begin with a sketch phase or a photography session. But otherwise much of the workflow remain the same.
Step 2: Refined drawing, and color
After the client chooses a sketch, or requests a mix of elements (say, the figure from A but the background from B), I move on to a more detailed drawing, as well as color options (usually, but not always). If I haven't already done so during the sketch phase, I collect or shoot all my reference before finalizing my drawing. If I have already done some reference photography, I often still need to reshoot my figure(s) to refine the pose and expression.
I know it's always possible for me to have started off entirely in the wrong direction, which would require me to do a whole new selection of preliminary drawings before moving on to the refinement stage. But so far I haven't had any client request this yet.
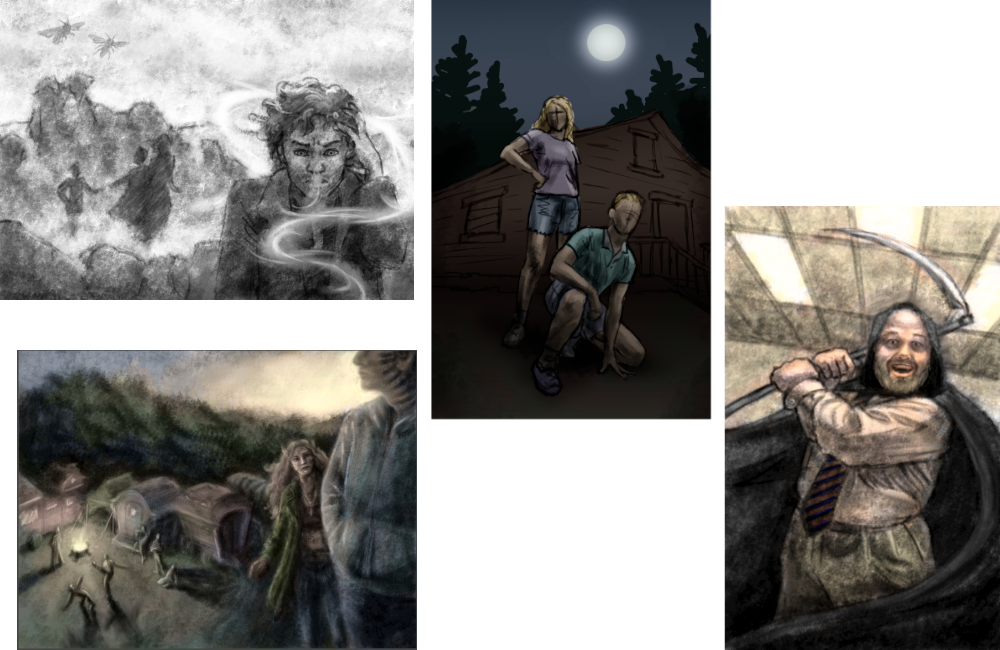
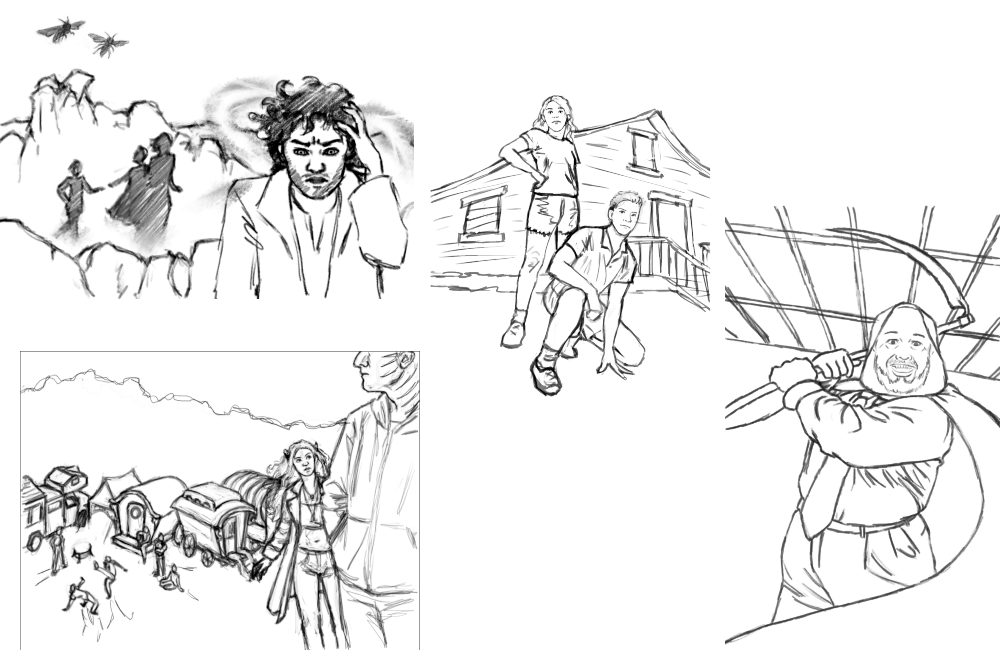
During this phase, all the major adjustments to the sketch happen, and I'm almost always working digitally at this point, which makes corrections quick and easy. It also makes testing color compositions quick and easy! When everything has been settled upon, I eventually transfer the outlines of the art onto a canvas or panel to start painting.
Step 3: Paint!
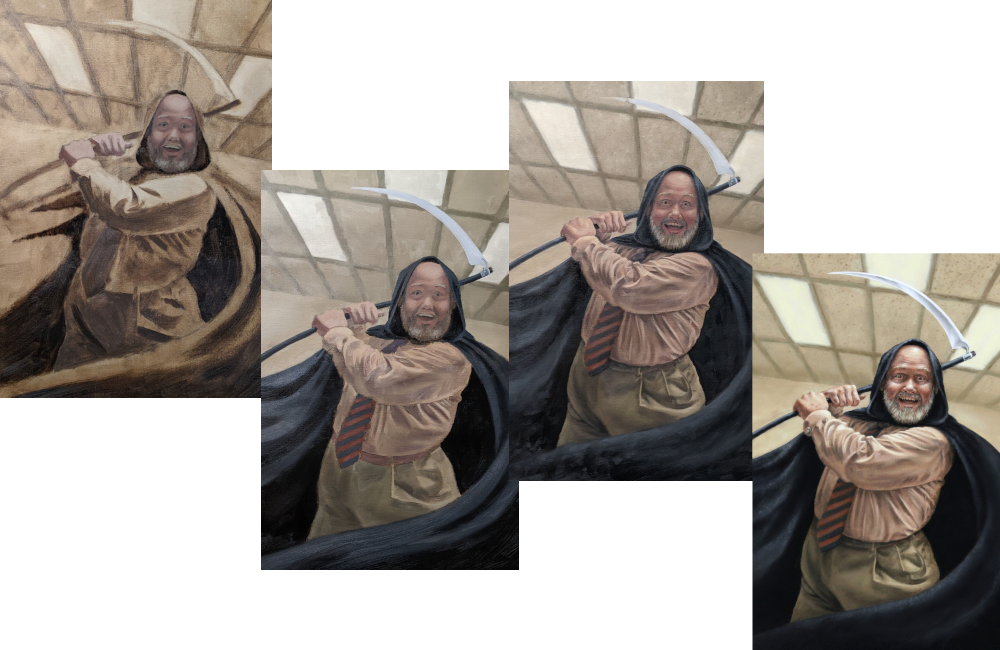
I send regular updates to my client during the painting stage, both so that they can verify that I am progressing in the direction they need, and also so that they can let me know if there are any additional revisions.
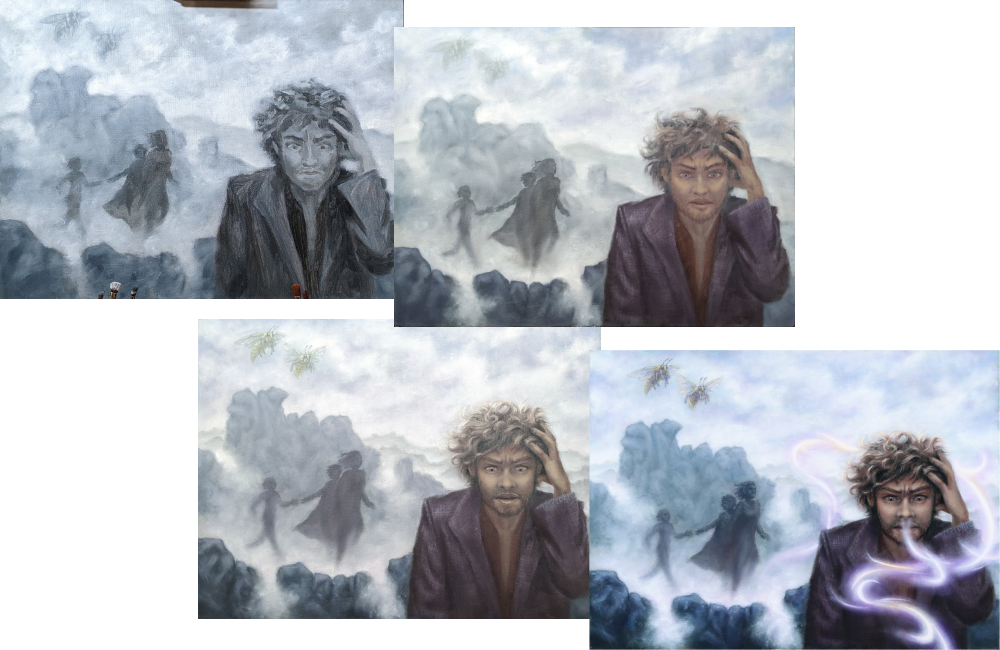
Some elements, like the very brightest highlights, maybe magical swirls which are hovering over a character, tattoos, are put in almost at the very end, after the rest of the painting is mostly finished.
Step 4: Final files
After my painting is completed, I have a photographer come to take high res shots for printing. If my client also requires cover layout files and text, I will have been working on those digitally during the painting phase, and can tie everything together in order to output all the needed files.
When working with a portrait client, the final steps are varnishing and preparing the painting so it is ready to hang.
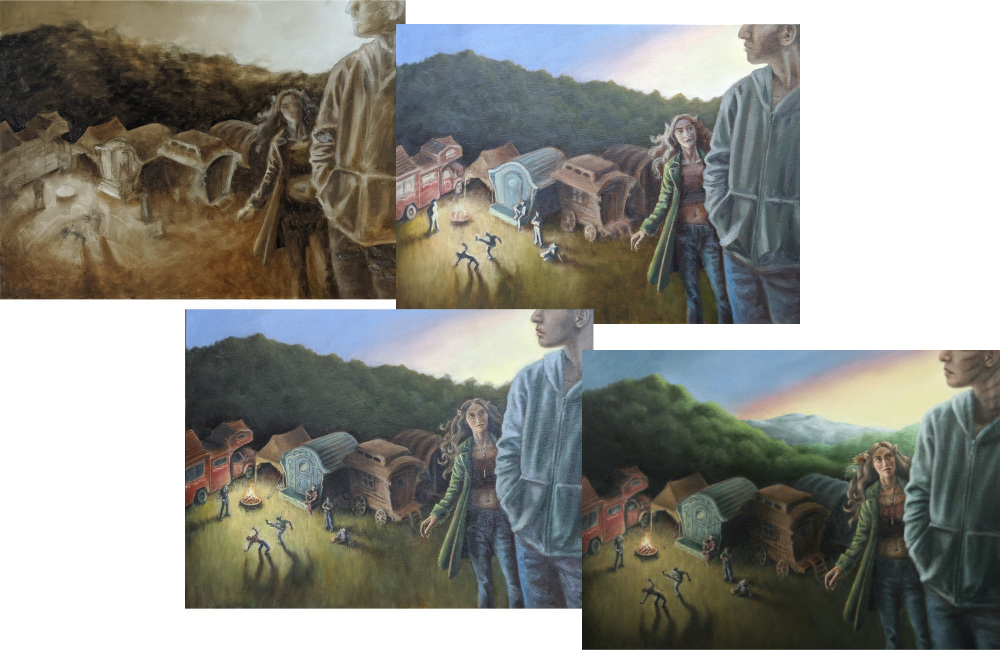
Below are some examples of paintings progressing from the beginning stages (underpainting), through what many artists call "the ugly phase" (where some of the details are starting to coalesce but many things probably don't look quite right yet), to the eventual finished works.
If I've been sending progress images that I took with my phone's camera, sometimes unavoidable lighting glare may distract from some elements, and the colors may not look accurate to how they will present in the final files.
COPYRIGHT © SARAH MORRISON
